Intro
When a system reboots unexpectedly, freezes during a video call, or crashes the moment a camera turns on, Windows is usually the first thing blamed. But in most real-world cases, the operating system is only the messenger. The real problem lives below Windows, in layers most people never see until something breaks.
Over the years, I’ve learned that stability is not something you install. It’s something you negotiate between hardware, firmware, drivers, and the operating system, all trying to work together under load.
The invisible stack beneath Windows
Modern endpoints are layered systems.
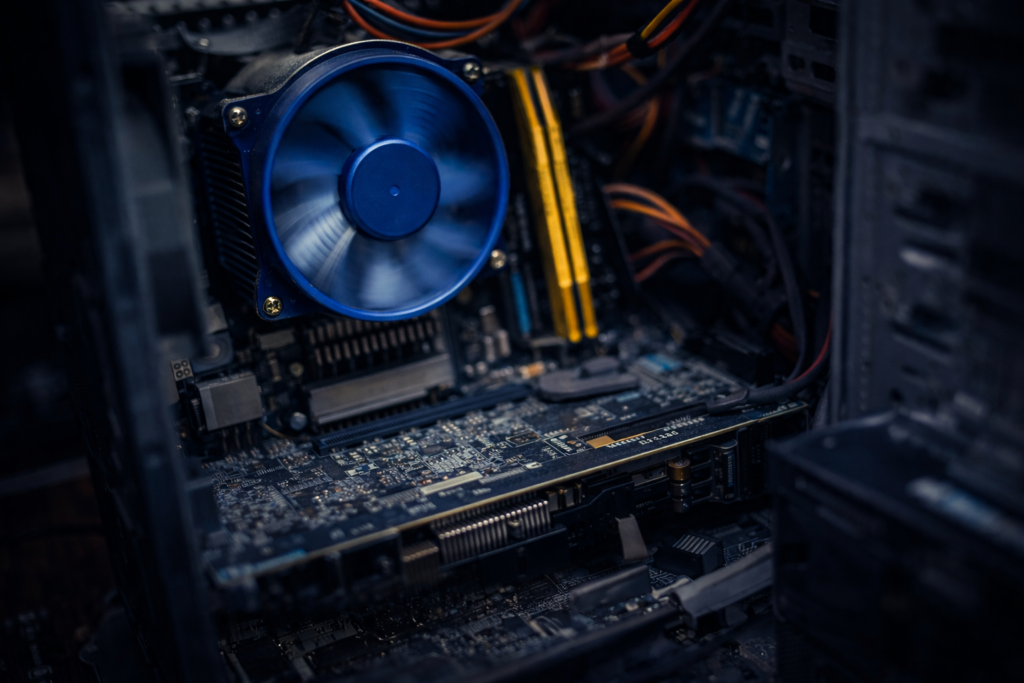
Below Windows 11 sits firmware, BIOS, chipset drivers, GPU drivers, and kernel-mode components that operate outside the visibility of most logging tools. These layers handle power management, graphics acceleration, memory access, and hardware interrupts. When they disagree, Windows doesn’t always get a vote.
A failure in these layers doesn’t always generate a blue screen. Sometimes the system simply resets. From the outside, it looks random. Underneath, it’s not.
Why Windows 11 gets blamed
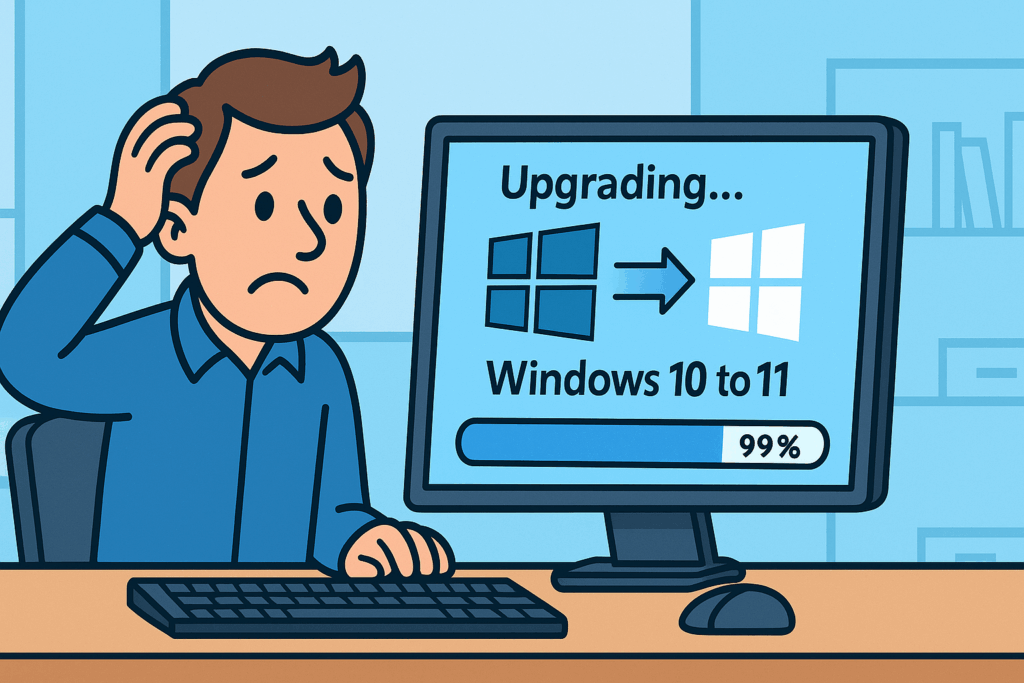
Windows 11 sits at the intersection of modern hardware acceleration and modern applications. Tools like Microsoft Teams, browsers, and Office apps make heavy use of GPU pipelines, video encoders, and camera drivers.
When something goes wrong at that boundary, the crash surfaces when the app is launched, the camera turns on, or a video stream initializes. Windows appears guilty because it’s present when the failure occurs, but the fault often belongs to a driver, firmware interaction, or hardware acceleration path that Windows merely exposed.
Why visibility tools don’t always catch it
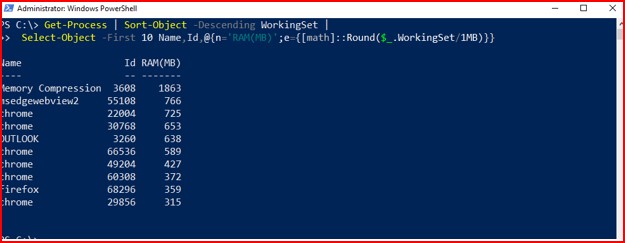
Tools like Sysmon are excellent at recording what happens inside the operating system. They act like a flight recorder for processes, network connections, and file activity.
But Sysmon can’t log what never reaches the OS.
A reboot triggered by firmware, a GPU driver reset, or a kernel-mode failure can occur before logging completes. From an administrator’s perspective, it feels like the system went silent without warning. In reality, the failure happened below the level where logs exist.
The thin line between stable and broken
Stability often comes down to small decisions.
A BIOS update here.
A GPU driver change there.
Hardware acceleration enabled or disabled in a single application.
None of these changes look dramatic on their own, but together they determine whether a system runs quietly for months or reboots under pressure. That line between stable and broken is thinner than most people realize.
What I’ve learned
When troubleshooting modern Windows systems, I no longer ask, “What did Windows do wrong?” first.
I ask:
- What changed below the OS
- Which drivers are involved
- What hardware path is being exercised
- Whether the failure happens under load or acceleration
More often than not, the answer reveals itself there.
Final thought
Windows 11 is rarely the villain in these stories. It’s the surface where deeper tensions finally show themselves.
Understanding that difference changes how you troubleshoot, how you update, and how you design systems meant to stay online.
© 2012–2026 Jet Mariano. All rights reserved.
For usage terms, please see the Legal Disclaimer.