Through water. Through blood. Through a mother.
Excerpt
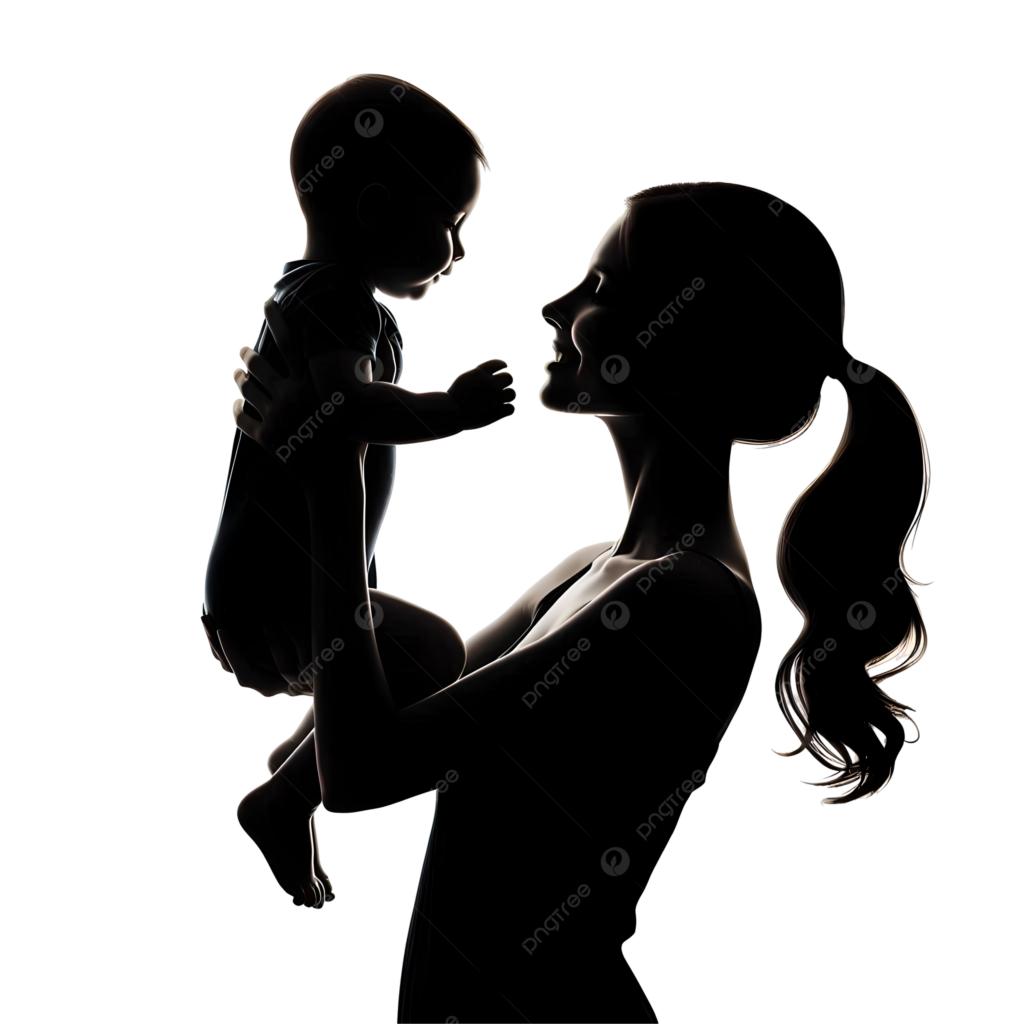
Every life enters this world through sacrifice. Through water, through blood, through a mother. I am beginning to understand what that really means.
Intro
I’ve been thinking deeply about mothers.
Especially now.
There are women who bring life into this world knowing the risks. Some endure long labor, complications, and moments where their own lives are on the line.
Some give everything… so their child can live.
And the more I reflect on it, the more I realize:
We owe our mothers more than we understand.
Notes from Today
Today, I was reminded of something simple.
Even in the middle of my own grief, I found myself thinking about others—about their struggles, their sacrifices, and their quiet strength.
Someone close to me once asked:
“Why do you still care for others when you are the one who needs care?”
I paused.
Then I remembered something I’ve held onto for years:
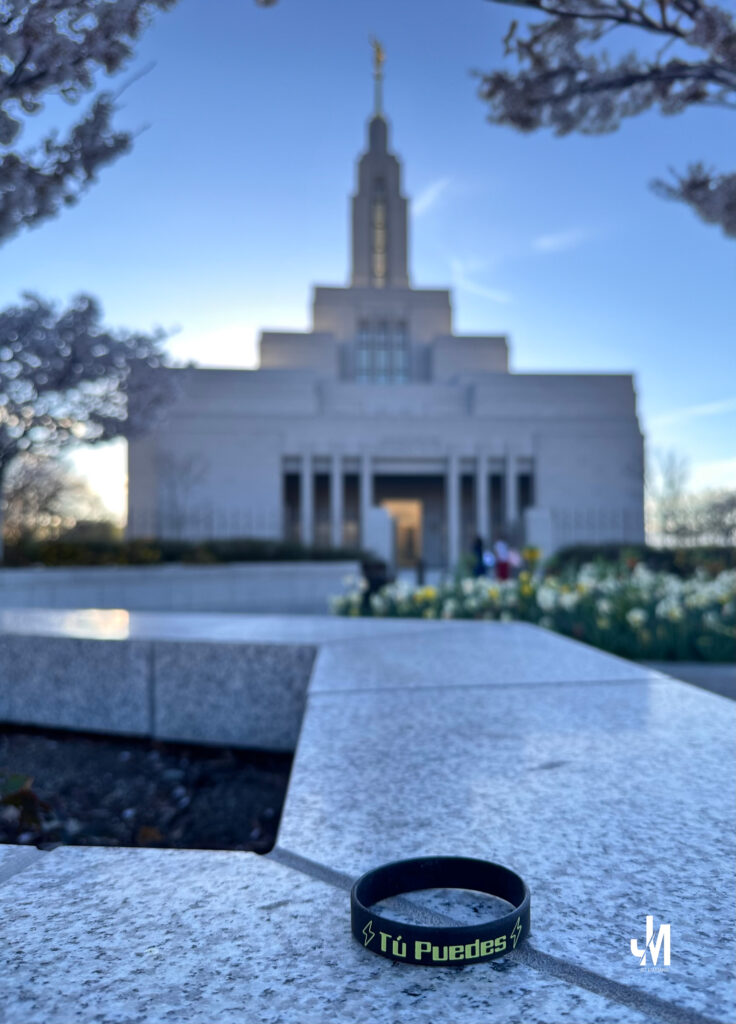
When you are down… lift others up.
Perspective (Doctrine — Moses 6:59–60)
In the Book of Moses, the Lord teaches something profound about how we enter this world:
“Inasmuch as ye were born into the world by water, and blood, and the spirit… even so ye must be born again into the kingdom of heaven” (Moses 6:59).
Every life begins this way.
Water—the amniotic fluid that surrounds and sustains the child.
Blood—the sacrifice of the mother’s body.
Spirit—the life that comes from God.
I have come to see this differently now.
A mother carries a child for nine months. Her body changes. Her strength is stretched. And at the moment of birth, there is water and blood—real sacrifice—so that the child can live.
This is not just biology.
This is divine symbolism.
Just as a mother gives of her own body and blood to bring a child into physical life, Jesus Christ gave His blood so that we might be born again into spiritual life.
Motherhood, in that moment, becomes a quiet, heaven-given reminder of the Savior’s sacrifice.
Application (Robert J. Matthews Insight)
I remember listening to an Education Week address by Robert J. Matthews, where he explained this connection through the Book of Moses.
He taught that bringing life into the world has always been tied to sacrifice.
That image has stayed with me:
A mother giving everything she has…
so that another life can begin.
Practice (today, not someday)
Honor your mother.
Recognize her sacrifice.
Do not take life lightly.
And when you feel like you have nothing left—
Lift someone anyway.
Final Reflection
Mothers give life.
Not in ease, but through sacrifice.
And sometimes, we only begin to understand that when we see how fragile life really is.
I am beginning to understand.
Pocket I’m Keeping
Life comes through sacrifice.
What I Hear Now (direct quotes)
“Inasmuch as ye were born into the world by water, and blood, and the spirit…”
“When you are down… lift others up.”
© 2012–2026 Jet Mariano. All rights reserved.
For usage terms, please see the Legal Disclaimer.