Intro
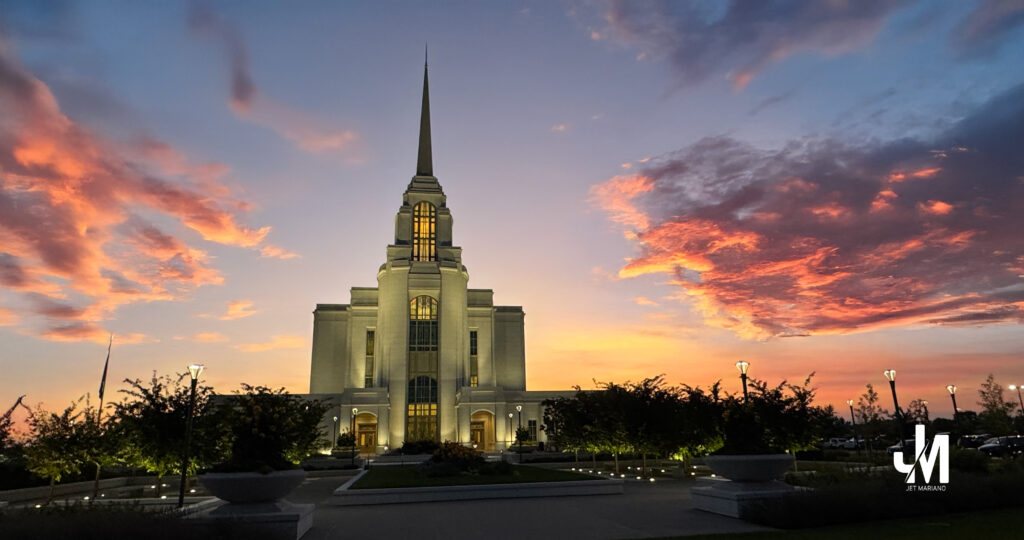
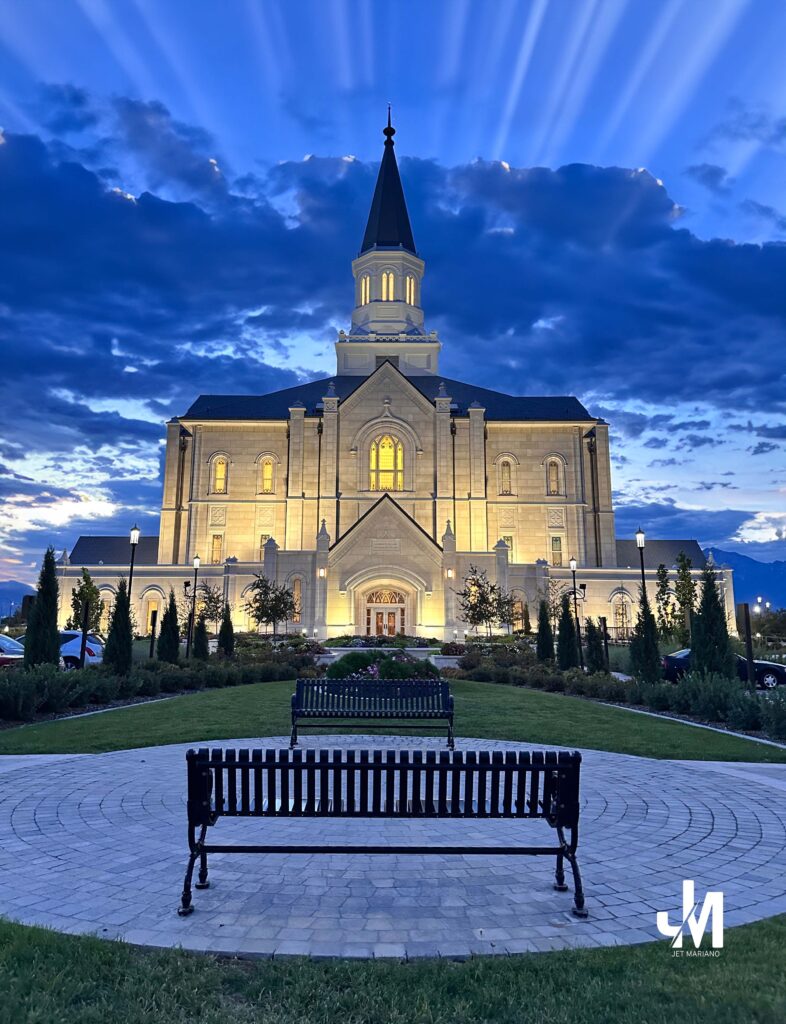
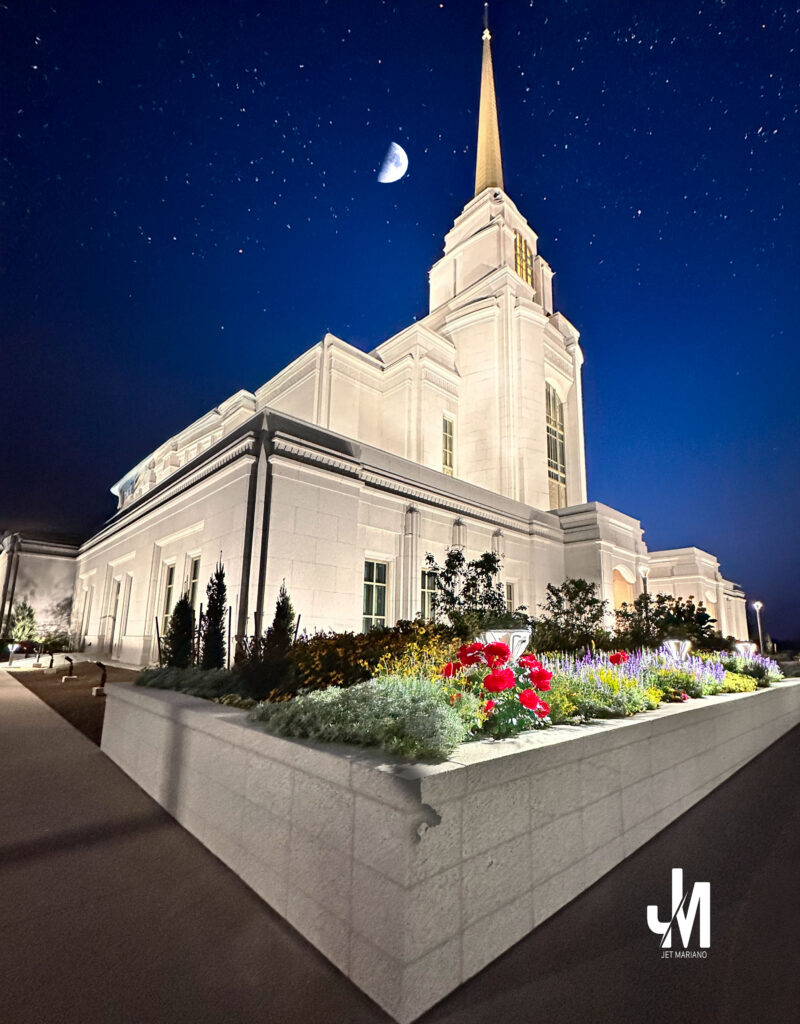
I lingered at the Syracuse Utah Temple until the first-quarter moon slid above the spire and the stars came on. The nudge I felt there was the longest I’ve ever carried from any temple—it stayed even while I was shooting. Elder Neal A. Maxwell’s cadence kept pacing me:
“In Christ all things hold together.” (Colossians 1:17)
And he widened the frame of my night with this:
“I wish to talk about your unfinished journey. It is the journey of journeys… The trek awaits—whether one is rich or poor… married or single, a prodigal or an ever faithful. Compared to this journey, all other treks are but a brief walk in a mortal park or are merely time on a telestial treadmill.” —Elder Neal A. Maxwell
The temple path made that “journey of journeys” feel less abstract and more immediate—boots on stone, heart in hand.
The straight line
Perishable skills expire; portable virtues don’t. The Lord is shaping “men and women of Christ”—meek, patient, full of love (Mosiah 3:19). When life frays, covenants are the stitching; Christ is the seam that actually holds me together.
Final Reflection (Maxwell, in his own words)
“These attributes are eternal and portable… Being portable, to the degree developed, they will go with us through the veil of death.”
“Since He is risen from the grave, let us not be dead as to the things of the Spirit… In him all things hold together.”
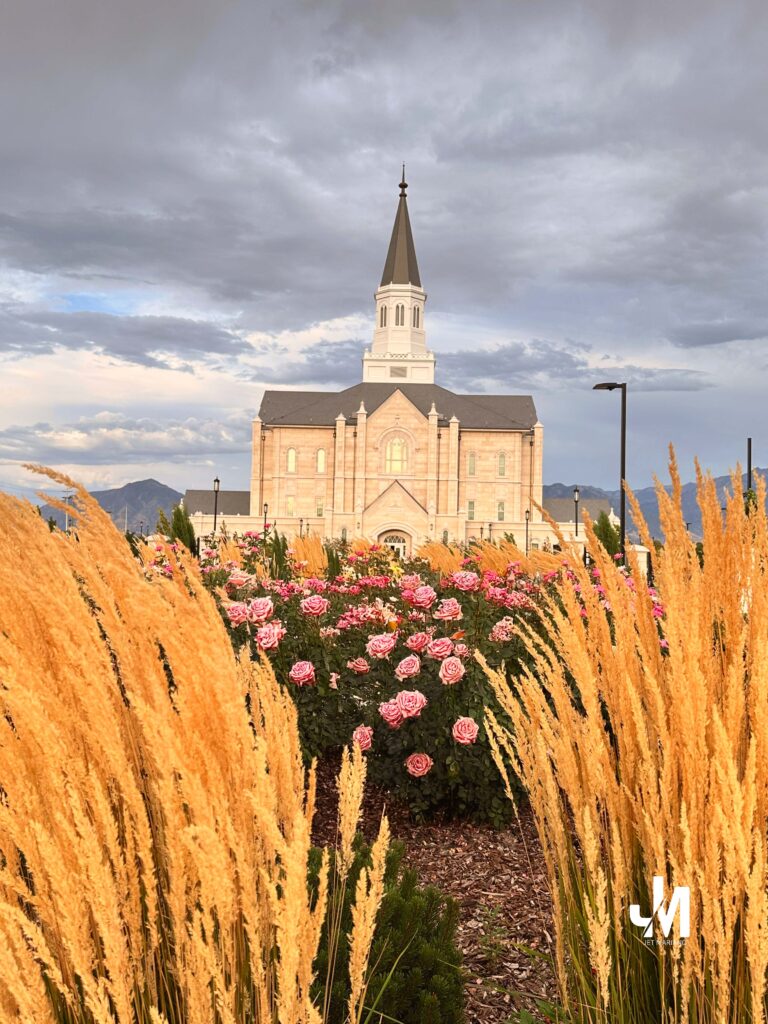
Standing beside the flower bed and the pale stone, I felt why: if I let Him order my heart, He will also order my steps.
Another line the night underlined
Elder Maxwell ties the sky to our discipleship:
“At Christmastime we celebrate a special star… placed in its precise orbit long before it shone so precisely… ‘All things must come to pass in their time’ (D&C 64:32). His overseeing precision pertains not only to astrophysical orbits but to human orbits as well… our obligation to shine as lights within our own orbits.” —Elder Neal A. Maxwell (see Philippians 2:15)
Insight: The moon over Syracuse wasn’t an accident; neither is where God has set me. If I stay in my covenant orbit—quiet, steady, on time—He’ll handle the timing and the alignment.
What I hear now
- Let Christ carry what’s flying apart. Pray first: “Hold this together in Thee.”
- Choose portable over perishable. Practice a trait before a technique.
- Shine in your current orbit. Steward the people and places already set around you; heaven runs on precision and timing.
- Serve quietly. Authority of example > argument.
- Take the yoke & learn (Matt. 11:29). Small obediences teach His large qualities.
- Return, then refine. Revisit the same place (and person) until the light matches the message—the nudge at Syracuse taught me that.
© 2012–2025 Jet Mariano. All rights reserved.
For usage terms, please see the Legal Disclaimer.