Only Whisper
Revelation is never ours to control; it comes when and how the Lord chooses (D&C 88:68). He alone decides:
- To whom it is given
- When it is given
- How it is given
- What is given
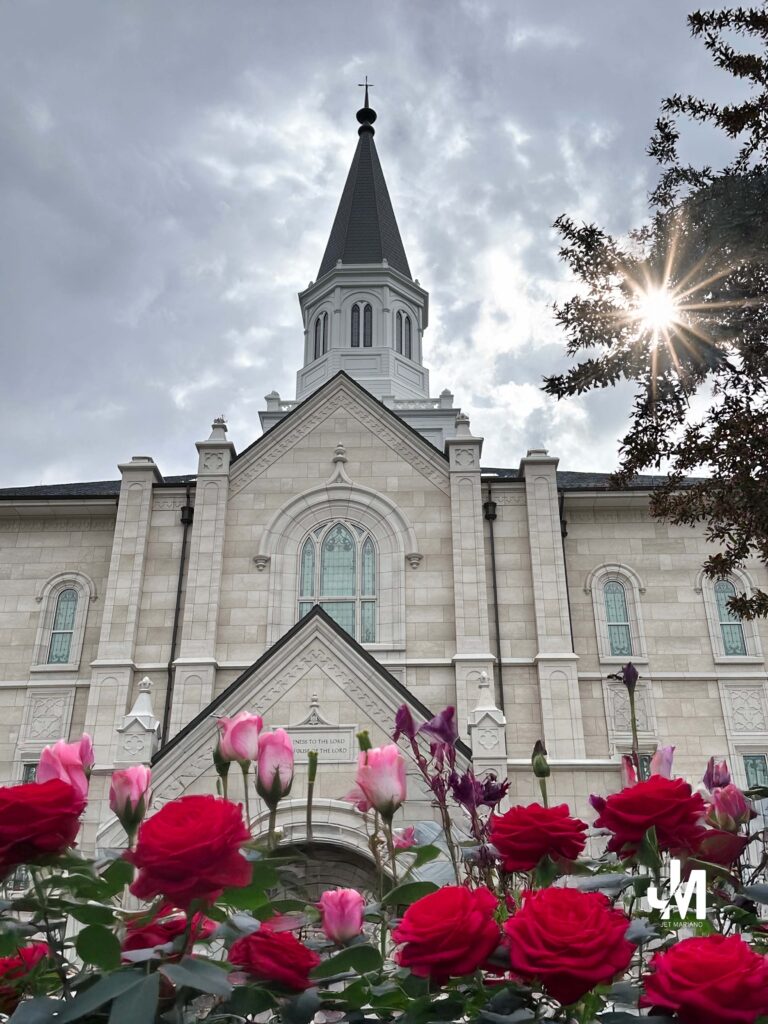
Yesterday, in the quiet holiness of the Taylorsville Temple, I was reminded of all four — not in grand visions, but in a gentle nudge. Even with my mind still learning to fully let go, the Lord chose to speak in His own way. It was not a rebuke, but a whisper — enough to remind me that He knows where I am, and He knows how to guide me forward.
Most of the time, I move quickly — eager to help, eager to act — even when wisdom would invite me to slow down. I’ve often rushed to finish what’s before me rather than take time for careful preparation or documentation. Yet I’m learning that these slower, quieter moments are part of the work itself. King Benjamin taught that “all these things are to be done in wisdom and order” (Mosiah 4:27). Even after his people entered into a covenant with God, he paused to record each name (Mosiah 6:1) — a small, deliberate act that safeguarded sacred promises.
And so, in that stillness, the Lord’s counsel from D&C 88:68 settled deeply — to keep my mind single to Him, even while I’m still learning to let go of what I hold dear. His voice is often a whisper, shaping not only what to do, but how and when to do it — in His way, and in His perfect timing.
While pondering my temple experience in Taylorsville, this Seminary song came to mind, perfectly echoing the message of D&C 88:68:
(From the Seminary song Voice of the Shepherd, Hold to the Rod series 1-6)
I want to hear — really want to hear,
But the sounds of the world loudly ring in my ear,
While the voice of the Lord that is calling me near
Only whisper.
The voice of the Lord is so still, so small,
I wonder if that’s what I’m hearing at all.
How can I know if I heard the call of the Shepherd?
I have His promise, but I have my choice;
To be of His fold is to hear His voice.
Knock, and He’ll open — ask and receive from the Shepherd.
The voice of the world comes on so strong,
Always insisting you’ve got to belong.
How far can I follow without doing wrong to the Shepherd?
Which is the world’s voice? Which voice is mine?
Which voice is offering a message divine?
I have His promise, but I have my choice;
To be of His fold is to hear His voice.
Knock, and He’ll open — ask and receive from the Shepherd.
Now as I kneel here next to my bed,
Chasing the voices from out of my head,
Listening for feelings in my heart instead, comes a whisper —
Wonderful message, welcome sound,
Strange how loudly a whispering sounds.
The hope that escaped me before has been found in the Shepherd.
He gave His promise; I made my choice.
I came to His call when I heard His voice.
I knocked, and He opened; I asked and received from the Shepherd.
There is peace in moving at the Lord’s pace (Mosiah 4:27).
The temple stands, the Spirit speaks, and heaven records even what is unseen (D&C 88:68).
In that stillness, I let go… trusting that what is meant for me will remain — even when my focus is imperfect, and my heart is still learning to let go of certain things.
This reminded me of a season when I chased a goal with all my strength—read more in Sacred Reflections
Most of the time, I am in a hurry and eager to help, preferring to act immediately rather than wait or work through slower, more deliberate steps. I’ve often found myself wanting to get things done rather than take time for careful preparation or documentation — yet I’m learning that these slower moments are part of the work itself. King Benjamin taught that “all these things are to be done in wisdom and order” (Mosiah 4:27). Even after his people entered into a covenant with God, he took the time to record each name (Mosiah 6:1) — a simple act of order that safeguarded sacred commitments.
In the sacred quiet of the Taylorsville Temple, I felt the Lord’s counsel from D&C 88:68 settle deep into my heart — to keep my mind single to Him, even while my heart is still learning to fully let go. His voice came not as a rebuke, but as a whisper — reminding me that He knows where I am, He knows what I’m carrying, and He knows how to guide me forward.
© 2012–2025 Jet Mariano. All rights reserved.
For usage terms, please see the Legal Disclaimer.